 Skip to content
The idea of carrying out a DIY van conversion can be overwhelming, especially if you’re not very handy. It doesn’t have to be, though.
You can turn your van into a camper in just 1 week by keeping things simple.
A DIY van offers lots of advantages over a professional rig. First off, you won’t need to join a waiting list – you can get started whenever. You’ll also be able to work on your van at home or nearby. The biggest advantage of going DIY is that you can customize your floor plan and choose every piece of gear you install. Finally, you’ll be in full control of the budget.
Reddit user Ovcandis chose a self-build because he wanted to create shelves and storage to fit his gear perfectly.
Worried about not having any experience in DIY van conversions? You shouldn’t be. Many van lifers, like James and Sarah from The Whole World Or Nothing, didn’t have any van building experience before they started their project. The couple learned the skills they needed by reading blog posts – like this one – and watching YouTube videos. It took some trial and error, but they created their dream DIY Sprinter van conversion on a budget and now live on it full-time.
Our top tips to get a van conversion done in a week
Let’s keep it real. You can’t build a swanky conversion with all the bells and whistles done in just 1 week. Most complex builds take several weeks to complete.
If you can’t wait to start living the van life, you can carry out a simple DIY van conversion in just a week. You can always upgrade your camper van later when you have time to install more gear.
Here’s how to make sure you don’t end up spending weeks working on your build.
Keep the layout simple

While the floor plan must suit your needs, it pays to keep it plain. Take time to research what’s the simplest layout for your van model, so you’ll have access to lots of DIY resources, such as plans.
For example, the plainest design for a DIY Sprinter van conversion includes a platform bed at the back with a garage underneath, a kitchen counter with cupboards on one side, and a couch on the other side. You can carry a portable toilet and outdoor shower with you, so you can stay off-grid for several days.
Choose quick-to-install and fit materials
You can save considerable time on the installation if you opt for quick-and-easy-to-fit materials. For example, choose vinyl sheets over laminate planks for the floor.
Use van conversion kits
Building furniture isn’t rocket science, but it takes time. You need to measure and cut every piece of wood you use to fit the awkward shape of your van’s interior. Conversion kits take all of the hassle out of building furniture.
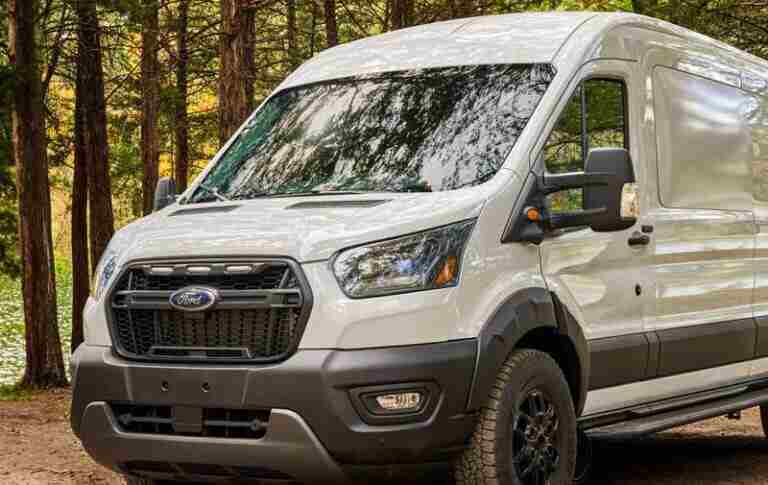
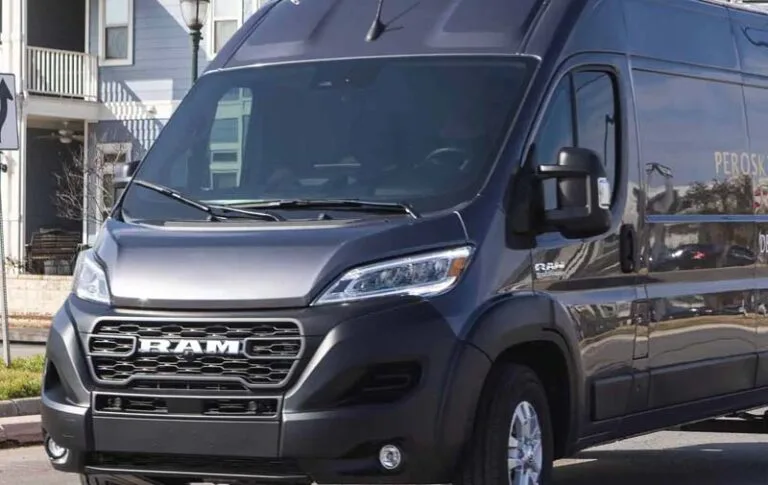
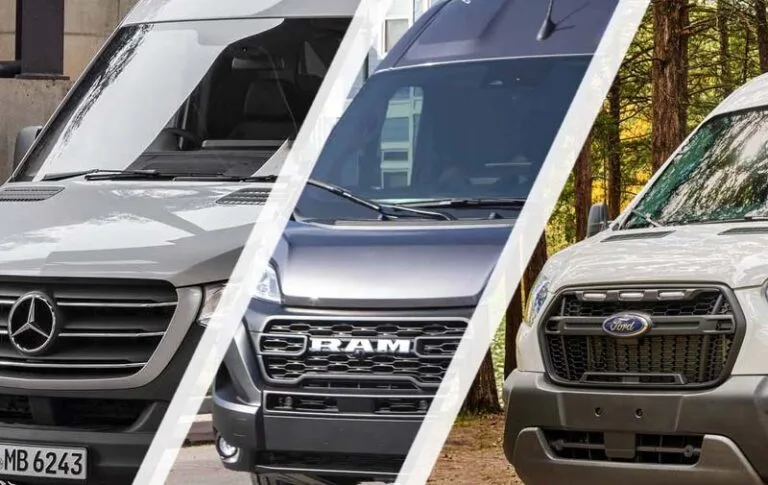
Simply order a kit that fits your vehicle model. Once you receive the package read the instructions, assemble the furniture and install it in your van. Have you checked out DIY van conversion kits? They fit the Mercedes Sprinter, Ram ProMaster and Ford Transit.
Plan everything in advance

To keep things efficient, you should design and plan the whole camper before you start the build. Make sure to measure every inch of the van before you start drawing, though.
Buy everything you need in advance and stay near a DIY store
You should buy most of the tools and materials you need to convert your van in advance. These include any kits and gear you want to fit, as they can take time to be delivered. Check the instructions for all kits you ordered to see if you need to buy any extra tools.
If you can, build your camper near a DIY store. As with any DIY project, you will inevitably forget to buy something – be it a special-size allen key or cable ties. Having a DIY store nearby means you can head there fast.
Keep systems simple
Complicated plumbing and electrical systems take days to install and a long time to research. To keep the build time to under a week, keep them as simple as possible.
Disclaimer. If this is your first build, you may make some mistakes along the way and fixing them will take some extra time.
How much does a DIY van conversion cost?
DIY van conversion cost anywhere between $4,000 and $90,000.
It depends on the size of your van, the materials you use, the items you include in your floor plan and the gear you install. A smart DIY van conversion like this one by Ladi & Margaret can cost as little as $6,000.
Keeping the whole rig simple and practical will not only help you hit the road sooner, but it will also lower costs significantly.
1-week van conversion plan
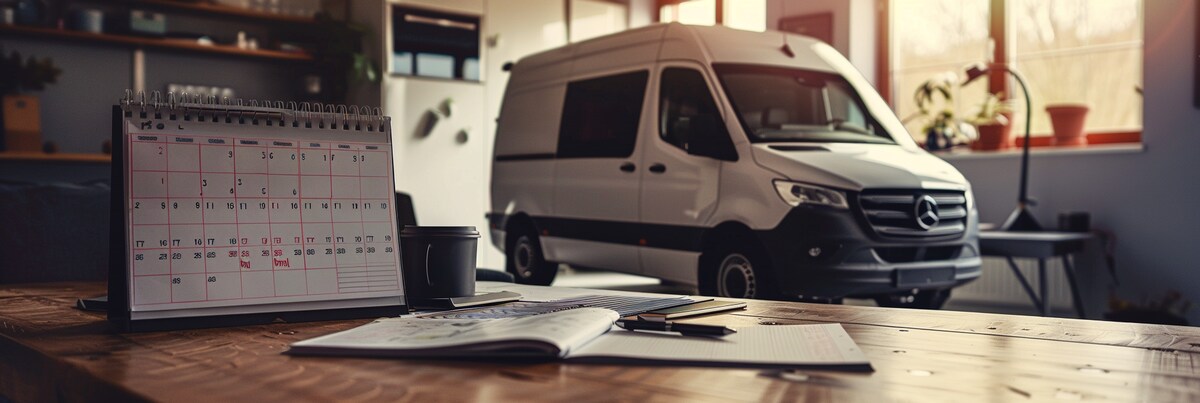
Let’s get started with this 1-week van conversion.
Day 1
Day 1 is all about getting the van ready to get insulated. We recommend completing day 1 a lot earlier than days 2 to 7 because it will give you time to plan your build in more detail.
On day 1 you will:
- Remove the bulkhead
- Gut and clean the van
- Measure the interior space of the vehicle
- Design a floor plan
- Install a roof fan.
First, gut the vehicle so you can clean the metal floor, walls and ceiling. Removing the bulkhead will allow a lot more natural light into the van. This is one of those fun jobs you can do while listening to your favorite music.
Once the van is clean, you can take measurements. Take each measurement three times to make sure it’s accurate and make notes. Next, design your layout based on your needs and preferences. Don’t forget to keep it plain.
Installing a roof fan in your van
Now that you know where the furniture will be it’s time to cut a hole in the roof. Scary but essential. Without adequate ventilation, your van will trap a lot of moisture, smells and mold. Getting a steady flow of fresh air will also help regulate the temperature.
Here’s how to get it done:
- Lay some old blankets on the van floor to collect the metal shavings and tape any magnetic surfaces
- Take measurements for the fan on the roof and draw its shape
- Drill pilot holes in the corners of your drawing – these need to be big enough to fit your saw blade
- Cut along the lines using a jigsaw
- File down the metal edge to make it smooth using a metal file and sandpaper
- Paint all along the cut to keep rust at bay
- Apply plenty of waterproof sealant to the area around the cut
- Add Butyl tape to get a stronger seal
- Press and screw the fan flange into the roof
- Screw the fan into the flange
- Apply caulking to all screws to make sure the whole area is waterproof
- Test for leaks using a water hose or a bucket.
Day 2 and 3
Days 2 and 3 are more challenging, especially if you own a bigger van. You’ll need to work fast and efficiently. If you have a buddy who owes you one, this is the time to call them up.
On days 2 and 3 you will:
- Insulate the whole van.
You might be tempted to skip the insulation step if you’re in a hurry, but you shouldn’t. You won’t have a second chance to get it done without taking everything out of your van, including the floor and walls. And that’s a colossal pain.
While you can easily make do without an electrical or plumbing system for a while, you will likely regret not insulating your van. The heat and cold will travel through the metal body and make the interior of your home on wheels uncomfortable, no matter the season.
Insulating the van floor
To insulate the roof of the van:
- Measure the space between the ribs
- Cut foam boards to fit between the ribs (don’t forget to use a mask)
- Place the boards between the ribs and fix them in place using Duct tape.
Insulating the van walls
To insulate the walls:
- Cut metallic bubble wrap insulation like Reflectix or Thinsulate to size to fit different areas of the body
- Use spray glue to fix it in place and cover as much of the walls as you can
- Cut fiberglass insulation to cover all the bubble wrap (remember to wear a mask and gloves)
- Use Duct tape to fix it in place, where necessary
- Use foam insulation where you can’t fix the other types of insulation, but cover only 50% of the gaps (foam expands).
Insulating the van floor
Once the walls are insulated you can insulate the floor. We wrote a whole article about this here.
To give you a quick summary, you’ll need to:
- Lay strips of insulation on the metal floor
- Cut and glue wooden furring beams to the floor using Sikaflex
- Cut and place foam board insulation between the beams (don’t forget to use a mask).
Day 4
Things will still look messy on day 4, but we promise it will be worth it.
On day 4 you will:
- Build a subfloor
- Install strapping
- Set up a simple electrical system.
Once the insulation is dry you can build a subfloor. To do this, simply cut 1/2 plywood sheets to fit between the beams you installed yesterday. Screw these to the beams. Et voila; you have a subfloor.
Now you can install strapping onto the walls and roof. Figure out where you want the wooden furring to run so you can easily attach furniture to it later. Attach the strapping to the walls and roof using self-tapping screws.
Electrics
You’re now ready to install a simple electrical system around the strapping. If you want to keep your build time to around a week you’ll have to buy an electrical kit. These are pre-designed electrical systems that come with all the parts you need – including cables, lugs, fuses and fuse holders – as well as detailed instructions. They take all the headache (and much of the time) out of installing an electrical system DIY. You can always upgrade your system with solar charging later.
If you’d rather skip installing an electrical system because you don’t feel confident in your skills, you can get a portable power station that charges while you drive, like a Jackery. You can install the electrics later. To hide them from view, fit them inside furniture and glue wire covers to the walls or floor where needed.
Day 5
After day 5 your panel van will start to look like a camper.
On day 5 you will:
- Install the finished walls, ceiling and floor
- Add lighting and charging ports.
Next up is fitting the walls, ceiling and floor. Choose the easiest and quickest material that gets the job done to save time. For the ceiling and walls, you could use ACP or cladding, while for the floor you could opt for sheet vinyl. Follow the instructions provided by the manufacturer or find a how-to video online.
As you lay the walls, make sure to cut holes where you want your lights and charging ports to be. To install these, simply screw them in place and connect them to the electrical system.
Day 6
Day 6 is all about making your floor plan come to life.
On day 6 you will:
- Assemble and install conversion kits.
If you want to build all the furniture in a day you will need to buy conversion kits; there’s no way around it. Building a bed, couch and kitchen from scratch typically takes at least three days and lots of brain power. Follow the manufacturer’s instructions to assemble and fit the kits to your van.
The Van2b camper van beds take 3 to 4 hours to build and install. Its shape adapts perfectly to the Sprinter, Transit, and ProMaster.
Day 7
Nearly there! One more work day and you’ll be ready to hit the road.
On day 7 you will:
- Add simple plumbing to the kitchen
- Install a heater
- Make cushions for the couch
- Cut a mattress to fit the bed
- Add a privacy curtain.
If you bought a kitchen conversion kit, it may have come with plumbing installed. If that’s your case, you can skip this step.
To create a simple water system you’ll need to:
- Install two tanks (one for freshwater, one for gray water) in one of your kitchen cabinets
- Measure the sink and faucet and draw them on the countertop
- Cut two holes to house the sink and faucet
- Install a water pump – if you didn’t install electrics choose a manual pump
- Connect the pump to the electrical system, if you need to
- Seal the holes and bed the sink and faucet
- Connect the sink to the gray water tank
- Connect the freshwater tank to the pump and faucet.
To connect all the components use flexible pipes, connectors and reducers. It can take a while to figure out what you need, so we recommend figuring the connections out before you go ahead with the build.
Et voila. You now have a simple plumbing system on board. You’ll need to disconnect the tanks for emptying and filling every few days. Remember not to drink the water, as it’s not filtered.
Installing a diesel heater in a van
Now is a good time to install a heater.
Generally, to install a diesel heater you will need to:
- Choose where to mount the heater, like under the passenger seat, and clean the area
- Measure the ducting, fuel lines and wiring
- Map out the fittings and adapters that come with the product you chose
- Drill a hole in the floor for the lines to travel to the back of the van – drill a pilot hole first to check the location works
- Install the fuel tank, fuel pump, exhaust ducting and fuel line
- Connect them all
- Fit the heater in the spot you chose on an insulated base, like some ply wrapped in foil
- Feed the lines through the floor to the underside of the van
- Run the wires from the control panel and fuel pump to the fuse panel
- Test if the lights come on
- Drill a vent hole as close as possible to the heater so the warm air can travel through the vanFasten the intake and exhaust hoses under the van, 3ft apart
- Install a carbon monoxide detector.
Please bear in mind that this list is not comprehensive – you need to carefully follow the manufacturer’s instructions and make sure you satisfy all their requirements. There are lots of videos about how to install a diesel heater on a van, like this one.
Van cushions and mattress
Next, you can think about the cushions for the couch and mattress. If your bed and couch are standard sizes you can save time by buying pre-made cushions and mattresses. If they aren’t, you need to get creative.
We recommend buying high-density foam and cutting it to size using an electric carving knife. You can then cover it with fabric by making cushion covers or attaching the fabric to the foam with pins.
Van upholstery
Finally, you can add a privacy curtain to your build. Rather than spending a long time creating custom-shaped covers that are awkward to remove and need to be stored away, install a simple curtain between the cabin and the camper. Use blackout fabric, magnets, and a bungee cord to hang it up. Simple yet effective.
Are you ready to convert your van into a camper?
Select the kit you need:
Or check out here all our van conversion parts.
We make our bed and cabinet units in California using premium materials and deliver them for free to the Lower 48.
For a more detailed guide to a more complex DIY camper van conversion, take a look at this article.
Author

Our products
Beds for Sprinter
Mercedes Sprinter Van Murphy Bed
Beds for Transit
Ford Transit Van Murphy Bed
Beds for Promaster
Ram Promaster Murphy Bed
Camper Van Cabinets - All
Mercedes Sprinter Van Wheel Well Cabinets
Camper Van Cabinets - All
Ford Transit Van Wheel Well Cabinets
Camper Van Cabinets - All
Ram Promaster Wheel Well Cabinets
Camper Van Cabinets - All
Mercedes Sprinter Van Galley Cabinets
Camper Van Cabinets - All
Ford Transit Galley Cabinets
Posts you may like
How to put a bed in a Sprinter van
Feb
How to build a DIY camper van in 1 week
Feb
Stealth van camping: Everything you need to know
Dec
Do Not Buy Vancubic Until You Read This Article: The Pros and Cons Unveiled
Jul
Van Flares Guide: What They Are, Why You Need Them, and How to Choose the Right Ones
May
Free Van Bed Plans and Ideas to Build a Bed in a Van
Feb
20+ Public Shower Places Near You While Traveling
Dec
Ford Transit Camper Conversion Kit for DIY Van: Top 15
Jan